Some materials for this quilt were provided to me by OnlineFabricStore.net. They are a fabulous company to work with, and as always, all opinions are 100% my own!

So far, this quilting thing has been pretty easy! Granted, I haven’t done any actual sewing or quilting yet, but what I have done up to this point, I’ve done pretty well if I do say so myself. During the second week of the Quilt Along, hosted by Becoming Martha and Create.Craft.Love, I worked on cutting my fabric pieces and then planning out my quilt top.
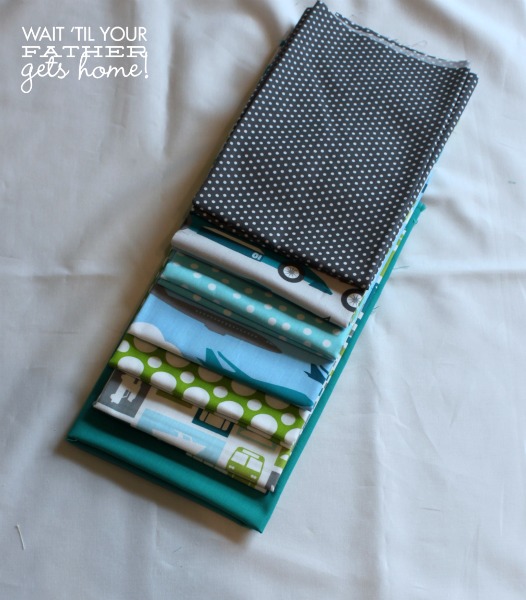
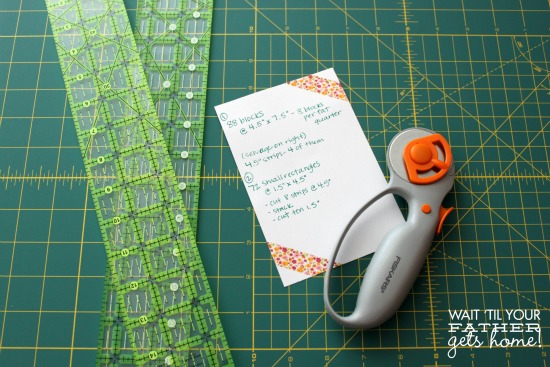
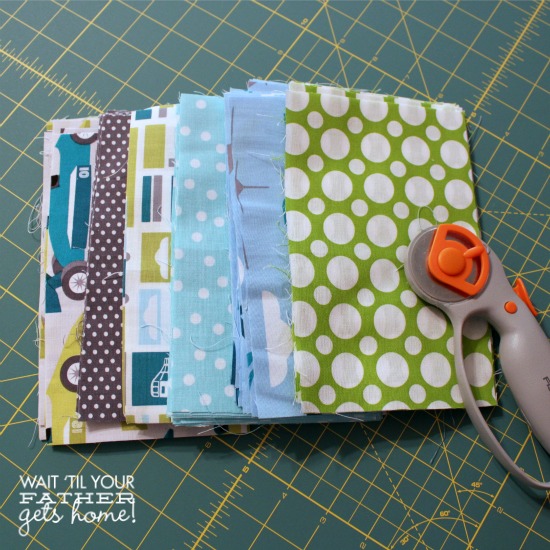
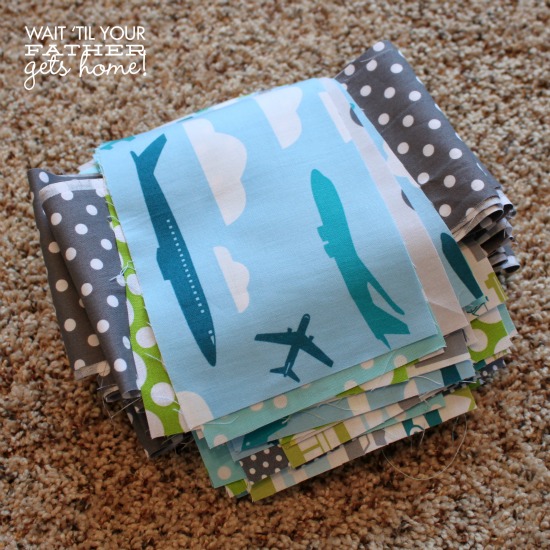
Here again is most of my beautiful fabric. I love it even more after getting it all cut and pieced together, but I’m jumping ahead of myself here. Before I began to cut anything at all, I had a nice little afternoon of ironing. After ironing for what seemed like forever, I got out my brand new self healing cutting mat, acrylic rulers, and rotary cutter courtesy of my good friends at Online Fabric Store. I also jotted down a list of how many blocks I should have from my fat quarters and the small strips between them.
You’ll recall that this is the quilt I’m making.
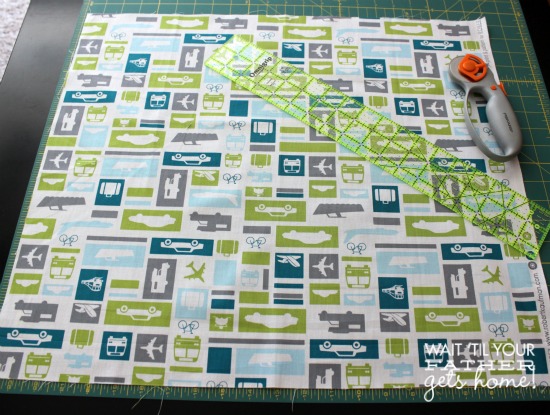
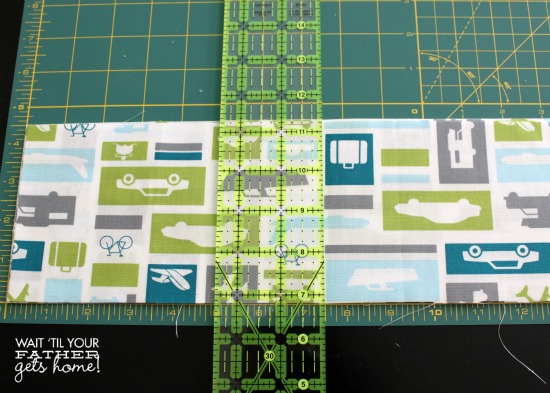
To create the blocks in the middle, you need to cut 88 pieces of fabric measuring 4.5 inches by 7.5 inches. {You will be able to cut eight blocks out of each fat quarter.} The easiest way I can describe to cut your fabric is to cut 4.5 inch strips, then stack each strip {you’ll have four of them}, measure out 7.5 inches, and cut through the entire stack.
Your rotary cutter can handle it, trust me! You will get two 7.5 inch sections {through 4 layers of fabric = 8 blocks} out of this. There will be about 6 inches extra.
Soon, you’ll have a stack of pretty 4.5 inch by 7.5 inch rectangles for your quilt blocks!
To cut out the small rectangles between the larger blocks I needed 72 pieces measuring 1.5 inches by 4.5 inches. To do this, I cut 8 strips measuring 4.5 inches in width. Then I simply stacked all 8 pieces on top of each other and cut ten 1.5 inch sections.
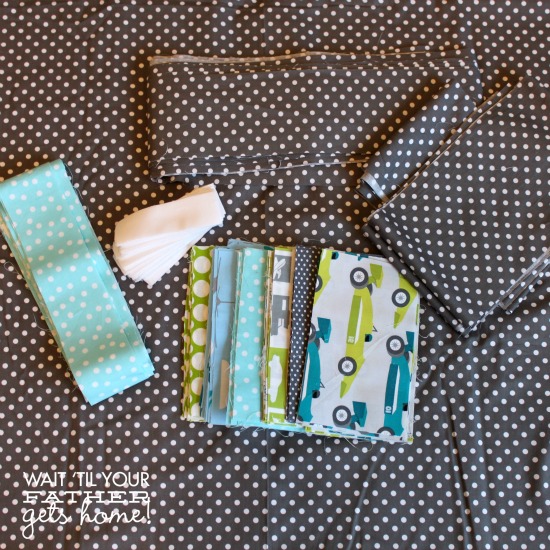
Once I cut all the rectangles {both large and small}, came the intimidating part for me, cutting the sashing, borders, binding, and backing. For the quilt I’m making, I needed the following:
Borders – Cut (2) 6.25 inch by 87 inch pieces for the long edges. Cut (2) 6.25 inch by 67 inch pieces for the short edges.
Sashes – Cut (11) 4 inch by 55.5 inch pieces.
Backing – Cut your fabric exactly in half.
Binding – Cut (9) 2.5 inches by 42 inch strips.
I was so nervous because the strips were just so long, and I was afraid that I’d get crooked somewhere along the way. Luckily, I took my time and made straight cuts on the first try with no wasted fabric. Yes, I’m as shocked as you are my friends!
Below is all the fabric for my quilt, ready to be pieced together! For my borders, sashes, and backing, you’ll remember I’m using Michael Miller Dumb Dot in Charcoal from my friends at Online Fabric Store.
Before I could begin actually piecing my quilt, I needed to plan out my quilt top to format my rectangles how I wanted them to look.
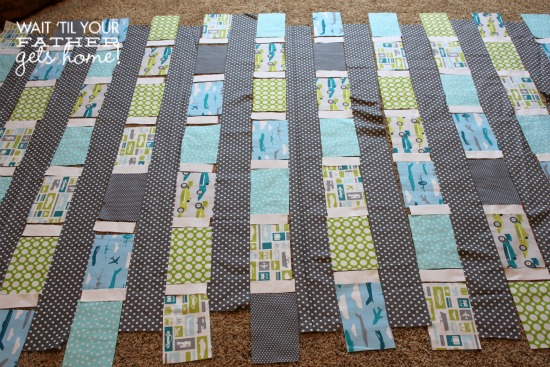
I just started laying out my rows and began with the large rectangles. Each row will contain 7 large rectangles separated by 6 small rectangles. There will be 12 rows separated by a sash. {You will only use 84 out of the 88 large rectangles.}
I laid out the ENTIRE quilt top and moved rectangles around until I liked how it looked! *Note, the sashes will appear longer than the rectangle rows…that’s okay! Once you sew the rectangle row together, it will be the same length as the sashing!
Once I had it all laid out, I began to collect each row and kept them in order {so that piecing later on would be faster}.
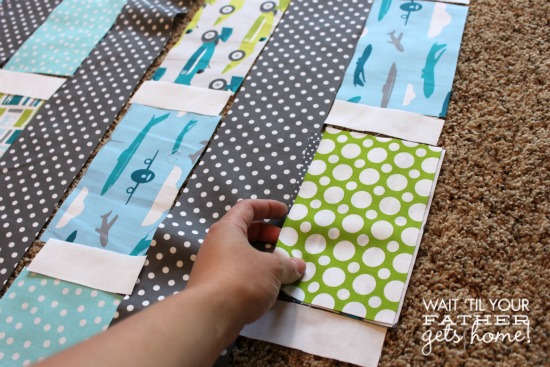
I soon had a stack of rectangle rows, with sashing in between {going another direction}. I collected my smaller rectangles separately.
The next part of my quilting adventure involves piecing the top of my quilt. Stay tuned to see how that process goes for me!

I may be linking up at these parties!


You are a brave woman. My mom makes quilts and so I know the time involved. But, the end product is always amazing! And I LOVE the fabric you’ve chosen. Can’t wait to see it finished!
I have wanted to learn to quilt for ages! It looks amazing! I am definitely going to follow along – you can serve as my inspiration!
Awesome! It’s been really fun so far! So glad you’re going to follow along!