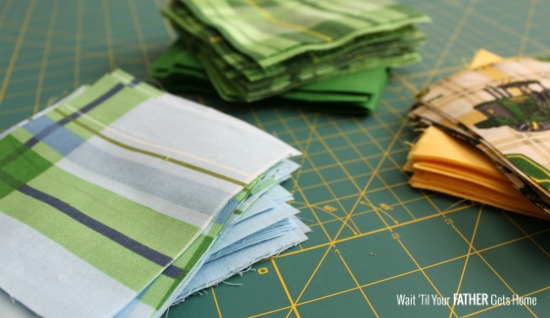
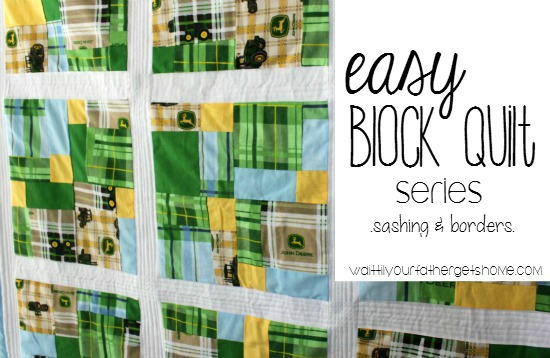
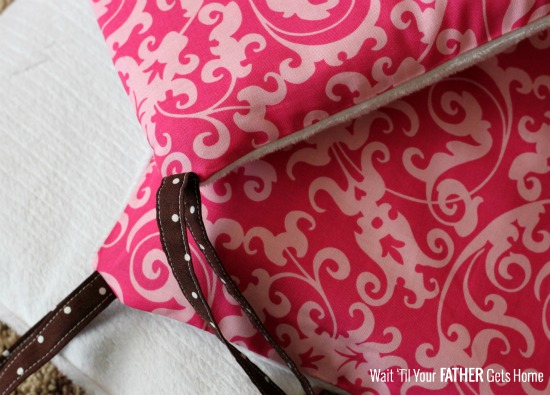
I’m super excited and perhaps a bit crazy to be taking on a project like this at 35 weeks pregnant, but I’m thrilled to share that I’m participating in Becoming Martha‘s and Create.Craft.Love‘s first ever Quilt Along. Did I mention I’ve never made a quilt before?
Am I crazy, or what?
I’ve been busy collecting all of my supplies, to make the following quilt:
Supplies
(Quantities and pattern from allpeoplequilt.com)
11 “fat quarters” (18×22″ pieces) for the patterned bricks
1/2 yard of solid color for the small rectangles between the bricks (shown in pink)
4.5 yards solid color for rows between patterned bricks (shown in yellow)
3/4 yards solid color for binding (shown in green)
5 7/8 yards solid color for backing
73×105″ batting
straight pins
curved safety pins
cutting mat
rotary cutter
acrylic rulers
The finished quilt is a twin size quilt and measures 67 x 98.5″, and the quantities are based on 44/45″ wide fabric. The measurements also include 1/4 inch seam allowance.
Ideally I’d love to say that this quilt is for the sweet baby in my belly, but, I’m not sure of baby’s gender. So, if it’s a boy, then, yes, it’s definitely for him! However, if it’s a girl, I’m thinking I’ll want to make her a quilt that’s a bit more girly than this…
Pictured above are the fat quarters I’ll be using for the patterned bricks. I found them here and ordered two sets. I’m also using the aqua/polka dot fabric for my binding and chose to keep the small rectangles between the bricks a solid color, I’m thinking teal.
The rest of my materials were generously given to me by my new best pals at OnlineFabricStore.net. You might remember that I recently made some beautiful Picnic-Style Place Mats and Cloth Napkins using some fabulous fabric from their site.
They are providing some awesome batting for my quilt, I chose to get
Mountain Mist Queen-Size Quilt Light Weight Batting
I got the queen sized pack since the materials list called for dimensions closest to this option.
I’m also using some beautiful fabric from OFS to use as the sashing between each row on the front of the quilt and to cover the back side of the entire quilt.
It’s called Michael Miller Dumb Dot in Charcoal and can be found at OFS here.
And of course I’ll be needing quite a bit of thread. After contemplating if I should get a fun color or not, I decided to keep it simple with white. So, OFS supplied me with several spools of
Coats & Clark Dual Duty XP Thread – Winter White, 500 Yards, found here on their site.
OFS was also kind enough to send me an awesome pair of fabric scissors! There’s nothing like a brand new pair of scissors to be used only on fabric! They cut amazing!!
You can find this pair and several others at OFS, here.
My friends at OnlineFabricStore.net are also going out of their way to help me out with my first ever quilting project to provide me with straight pins, curved safety pins {wondering why when quilting you need a curved safety pin}, a cutting mat, a rotary cutter, and a couple acrylic rulers {because I’m told one isn’t enough…guess I’ll find out about that one}.
So, stay tuned! I’ll be sharing the process of cutting the fabric in my next Quilt Along post. Sounds easy enough, right? Anyone can cut fabric {hopefully}! To see how Jill of Create.Craft.Love suggests to cut each piece, visit her explanation found here.
I received some product from OnlineFabricStore.net to complete this quilting project. As always, all opinions are 100% my own!
About Meredith Hazel
Meredith is a stay at home mom and has been blogging since 2012. She started Wait 'Til Your Father Gets Home as a creative outlet in between nap times for her little one. Wait 'Til Your Father gets home is a combination of crafting tutorials, DIY projects, recipes and, sharing some of life's journey along the way.


