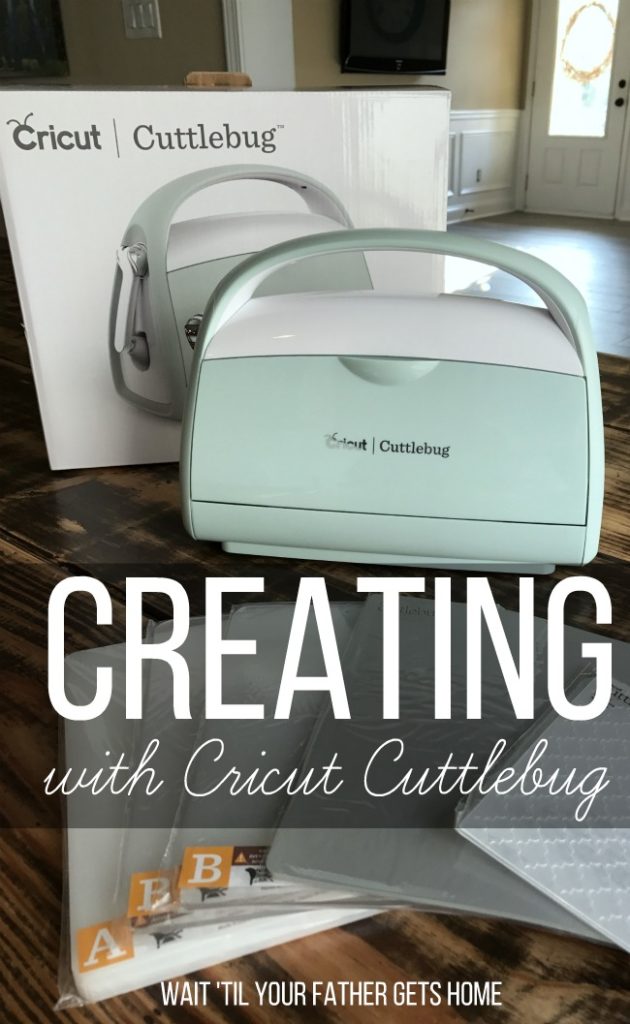
I was provided product by my friends at Cricut for the purposes of this post. As always, all opinions are 100% my own. Some affiliate links included for your convenience.
The perfect way to freshen up a room?…PAINT! We finally had the time to paint my daughter’s room this weekend. She will be three in August, and has had leftover blue and brown stars above her bed since birth thanks to her big brothers, and mommy and daddy’s lack of extra time to do work around the house. The fresh paint has totally transformed her room and brightened it up. Now I’ll finally get to hang the collection of frames and art that I’ve gathered for a sweet gallery wall. And using my latest tool from Cricut, the Cuttlebug, I’ve been able to add a piece of my own to the collection as well.
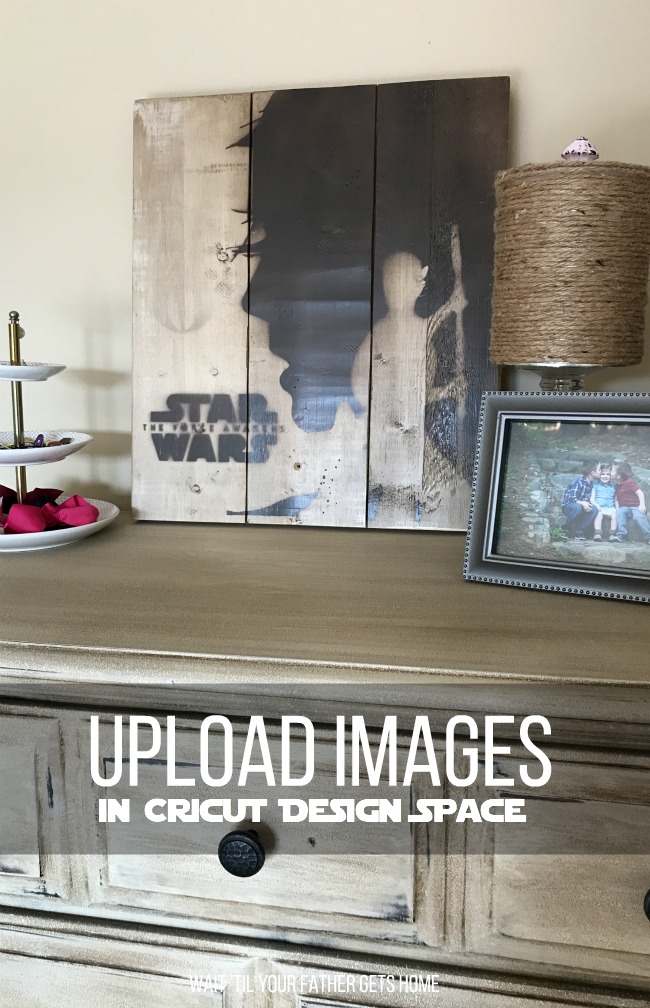
Before I jump into my newest project with the Cuttlebug, I wanted to share a few other DIY projects that MY HUSBAND made for around the house using the Cricut Explore Air 2! YES, you read that right, my husband broke out my Cricut to make gifts for all of us a few Christmases ago, and they turned out so great! Each project he uploaded his own images and fonts on his own.
What other types of art and decor can you make with the Cricut Explore Air™ 2 machine or the Cricut Cuttlebug? The quick answer….tons! We’ve used the Cricut for several projects around our home, even uploading our own images to use as well.
Uploading an Image
With Cricut Design Space™, you have the ability to upload most .jpg, .bmp, .png, .gif, .svg, and .dxf files for free. They will then be converted into a cuttable image.
There are two different types of uploaded images: Basic and Vector.
- Basic Images – include .jpg, .bmp, .png, and .gif file types. These files are uploaded as a single layer, and you have the ability to edit the image during the upload process.
- Vector Images – include .svg and .dxf file types. These file are uploaded as previously designed and will automatically be separated into layers after uploading and saving.
For a detailed explanation of uploading and using the images you have saved on your computer, check out the Cricut Help Center explanation here.
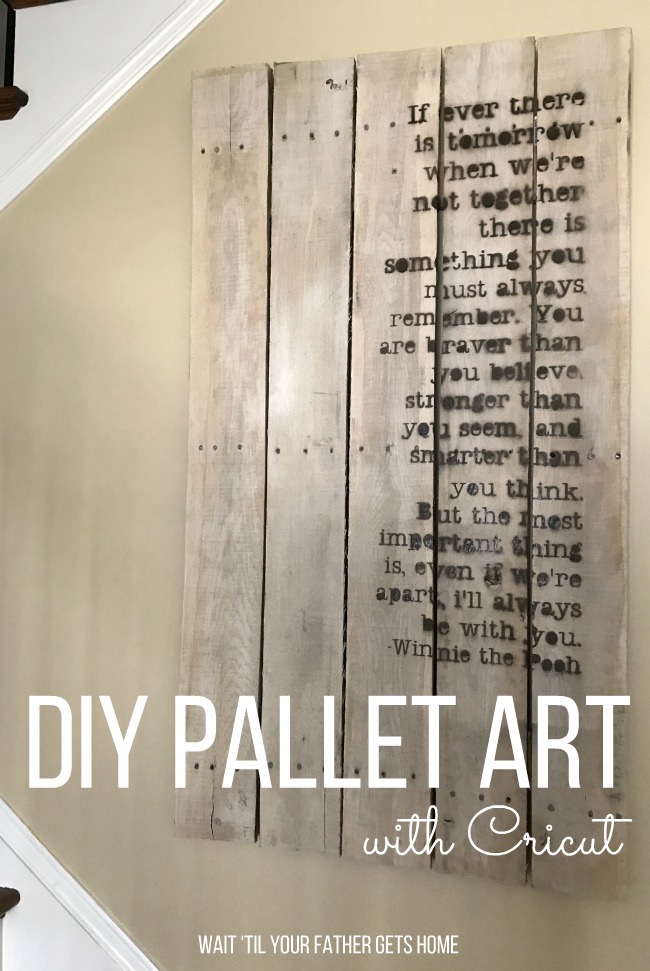
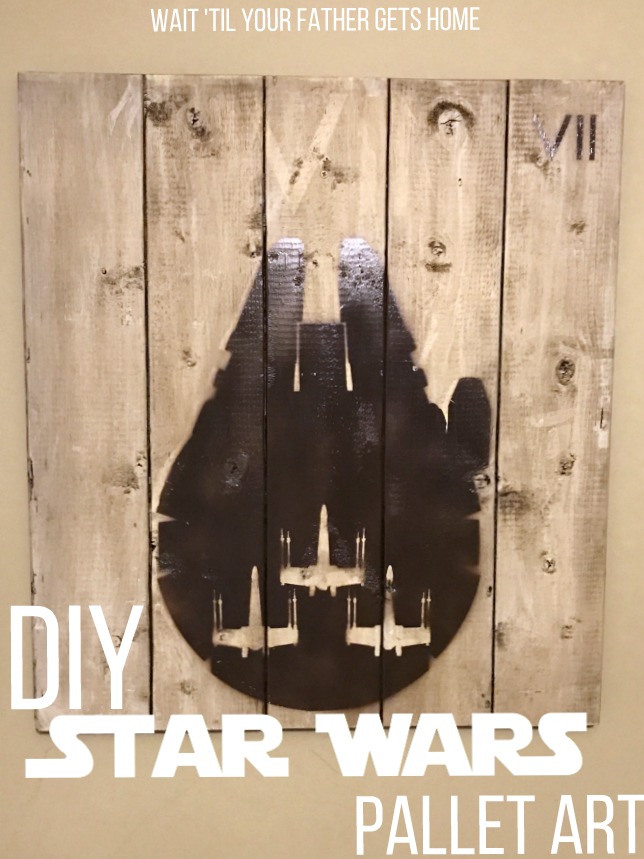
He made stunning Star Wars wall art for our kids for Christmas. He also made a gorgeous pallet art project from a quote that I loved. I LOVE everything about the gifts he made for us, and will treasure them forever. Obviously for the pallet art quote, he only needed a font that he liked. For the Star Wars art however, he searched for the images he wanted to use plus that classic Star Wars font, saved them to his computer, and uploaded the files according to Cricut’s directions. After cutting each image in vinyl that served as a stencil, he did a series of staining and white-washing to create the desired colors.
I love how they turned out, and I know we’ll continue to use Cricut for future home decor projects and ideas!
Now onto the Cuttlebug Project…
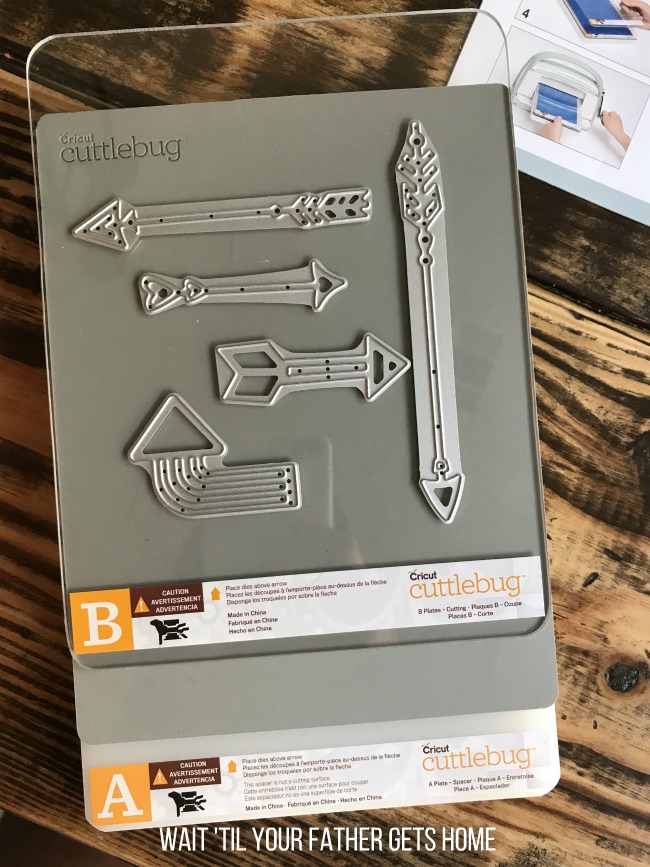
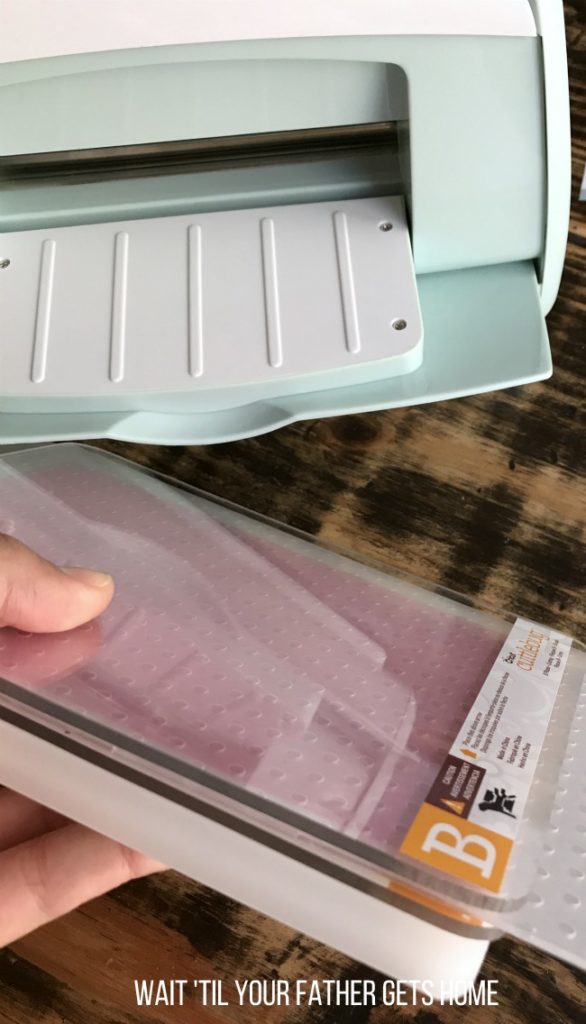
When I first got the Cricut Cuttlebug, the order of the plates was a source of some confusion to me. Luckily, there is a guide that comes with the machine that outlines the order to use. To cut from cardstock using the dies, the order from bottom to top is the A plate, magnetic mat {keeps the dies in place} or rubber embossing mat, B plate, dies, cutting material {if paper is one-sided, put the good side down for embossing later}, B plate. {FYI, shown below I have pictured all the way to the dies. The last two layers would be the paper then a second B plate.} WHEW! After using it twice, I will say, I’m totally used to the order. It’s just something you have to use in person to get the hang of it. It took all of 2 minutes to “learn” and now I know I’ll remember it each time I use it.
Next, squeeze all layers together firmly and run it through the Cuttlebug by rotating the handle. It will crunch and crack! DON’T be alarmed! You will understand once you use it. I thought for sure I had done something wrong and cracked all the plates. Also, the process of cutting will leave etching marks on your B plate. This is also normal!
Now, to emboss: keep the cut paper inside the dies. Put aside the unneeded paper. Put it back together in this order {from the bottom}: A plate, B plate, dies with cut paper inside, rubber embossing mat and B plate. Then, run it back through the machine once more.
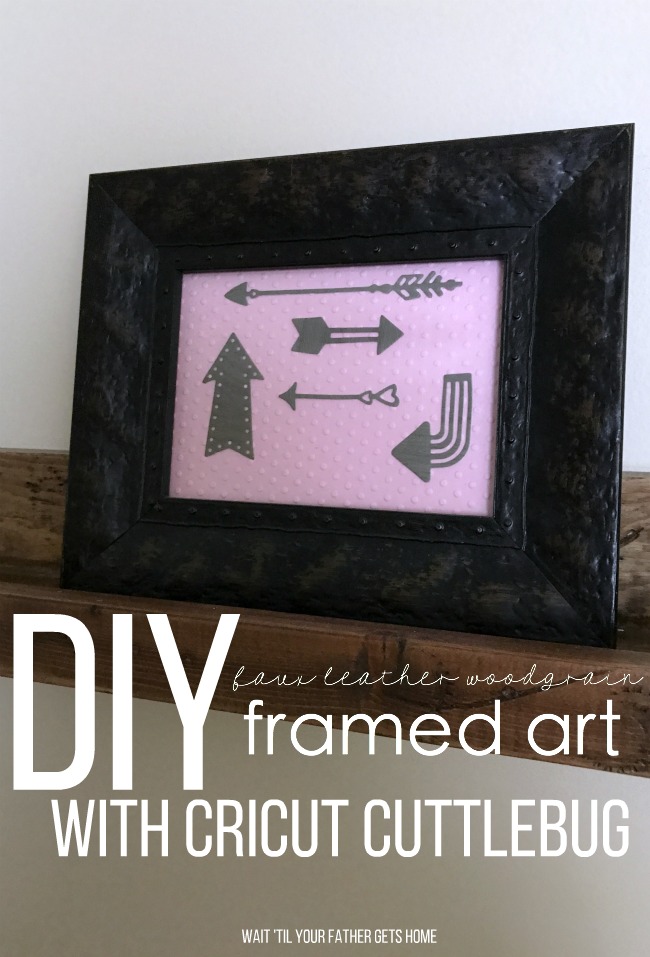
Once all my pieces were cut and embossed to my liking, I arranged them on the paper, attached each arrow with a gluestick, and inserted everything into the frame. I love the pop of color with the light pink polka dot embossed paper. And the faux leather in woodgrain finish is gorgeous!
For this project, I used the following materials:
Cricut Cuttlebug | Cricut Cardstock | Cricut Faux Leather Woodgrain
Feathers & Arrows Cut and Emboss Die Set 5 x 7 | Cuttlebug Embossing Folder, Polka Dot Page
Why the Cricut Cuttlebug™?!
The Cricut Cuttlebug™ die cutting and embossing machine offers a versatile and portable option for cutting and embossing a wide variety of materials.
Bonus! Includes one A2 embossing folder and two metal dies| One 6×8 A Plate and two 6×8 B Plates included |One 6×8 Rubber Embossing Mat included | Cuts and embosses a variety of materials including tissue paper, foils, acetate ribbon, and thin leather | Produces professional-looking results with deep, even embossing and clean, crisp cuts |Works with other leading embossing folders and cutting dies| Cuts and embosses yardstick | Features a collapsible handle and compact fold-n-store profile | Strong suction | Easy to operate
What do you think you’ll use your Cuttlebug for this year?! I’d love to hear your ideas!
This is a sponsored conversation written by me on behalf of Cricut. The opinions and text are all mine.


I am searching for the original A, 2 B’s & C plates for a cuddle bug machine. Would you be able to help me w/this? I would appreciate any help you could provide me. Thanks!
You may have to check eBay or the FB Marketplace. I don’t believe they make Cuttlebugs anymore.
I had the same problem and ordered some B plates from Walmart not cricut brand. They work great in fact they don’t warp as much as the original ones
I have been making all my greeting cards and gifts with my cuddle bug for at least 15 years. I am a calligrapher and 91years old.