Some materials for this quilt were provided to me by OnlineFabricStore.net. They are a fabulous company to work with, and as always, all opinions are 100% my own!

Remember how before I had the baby this Summer, I was participating in a Quilt Along? Well, some things sorta got in the way of completing the quilt as quickly as I would have liked to {you know, having a baby, chasing a toddler, recovering from delivery, all that fun stuff}, but GOOD NEWS! The quilt is now complete, and I’m so excited to share it with all of you!
If you’ll recall, week one was spent gathering my materials, week two was spent mastering the rotary cutter, and week three was when I pieced the quilt. The next step was definitely the most time consuming. It involved making my first quilt sandwich {the most time consuming sandwich I’ve ever made} and then quilting the quilt {which requires a lot of muscle so start lifting those weights}.
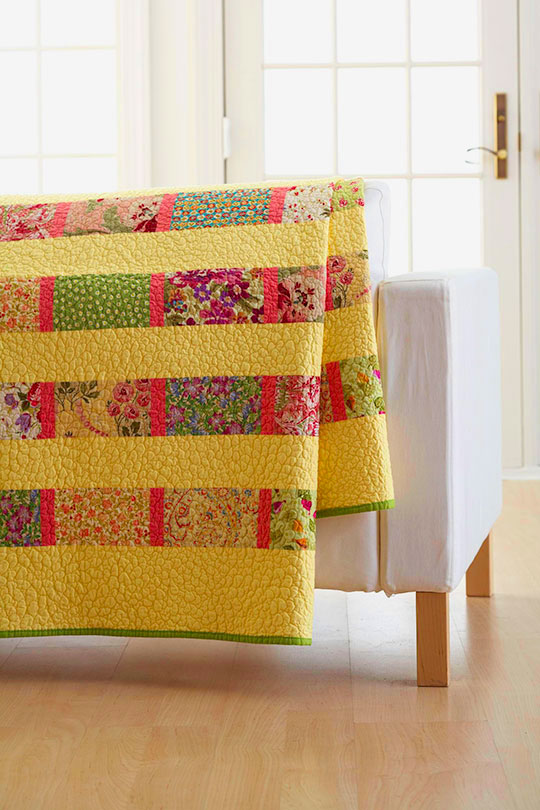
Remember, this is the pattern I’m following via {allpeoplequilt.com}
The first thing I had to do was sew my backing together. I had already cut the fabric in half. To sew it together, I laid the two pieces face to face and sewed the length of the fabric. I then pressed the seam open and laid it out on the carpet, right side facing down.
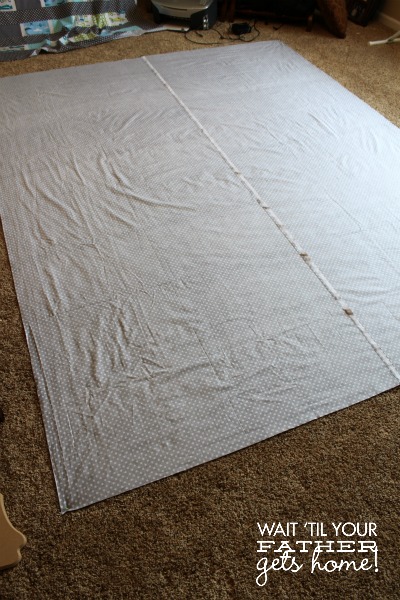
This is where some t-pins would have come in handy. Being a quilting newbie though, of course I didn’t have any in my craft closet. Never fear, simple straight pins work just as well! To keep the backing in place, I pinned the fabric to the carpet. Yes, you read that right, pin it right into your carpet. If you lay it out on hardwood floor I guess you could tape it?! Not sure how that would work out for you though.

Once the backing was pinned {I just did the four corners and about halfway down on either side}, I laid out the batting on top of the quilt backing and smoothed it out as much as possible.
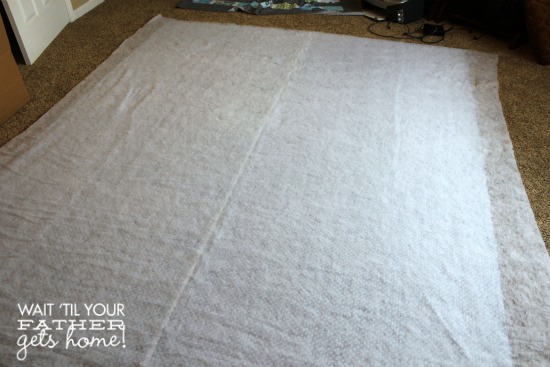
The batting is slightly larger than the quilt backing {and that is perfectly fine}.
Next I added the third and final layer of my “quilt sandwich”, the pieced quilt top, right side facing up.
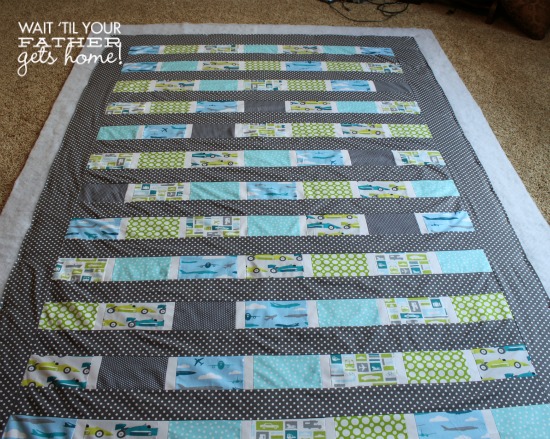
I spent several days smoothing out all the layers, straight pinning it to the carpet, and then using about 300 curved safety pins to keep all three layers in place. Let me tell ya…that was no easy task!
Once the “quilt sandwich” was made, I took the straight pins out of the corners and sides, rolled it up, and…
had a baby.
So it sat, rolled up in a corner in my mess of an office/wanna be craft area for a good three weeks. And I adjusted to life with two little boys under the age of two and a whole new level of sleep deprivation.
Then one day, I found some energy and a lot of motivation to begin the process of quilting my quilt.

I followed Jill’s suggestion for the actual quilting process. I quilted using straight lines along each strip and sewed around the entire edge twice to give the quilt a little more definition. If you are a more advanced quilter, then get as fancy as you want with it. Since this was my first quilting experience, I opted for easy!
Check back tomorrow as I’ll be sharing one of my favorite parts of the quilting process…binding the quilt!


I love your quilt! The fabrics are so fun. And, I am so impressed that you were able to finish it with a toddler and newborn in the house! Beautiful.
HAHA!! “I took the straight pins out, rolled it, and….had a baby.” Cracked me up 🙂 I love the fabrics you chose – can’t wait to see the final product! I admire you for tackling this project – I would love to make a quilt some day.
Haha, yep, had a baby in the middle of all that quilting! You should totally make a quilt…it’s hard work, but very doable!
Oh my- I have been wanting to make a quilt. This is great! I have not made one since I was in high school & made a puff-quilt for my baby brother. I really need to get back to this- it’s incredibly satisfying when you complete a project like that.