I don’t know about you, but I’ve felt super busy lately. I haven’t had time to sit down and work on long craft and sewing projects in a while. No complaints here though…I like to feel busy. This past weekend I did have a little down time to work on a super fast project that I’ve been meaning to do for quite some time now. By no means can I claim this as my own idea as I’ve seen it done countless times on Pinterest and on a few friends’ blogs, but sometimes a girl just wants to find a project on Pinterest and put her own spin on it! So, over the weekend I sat down for about half an hour and made
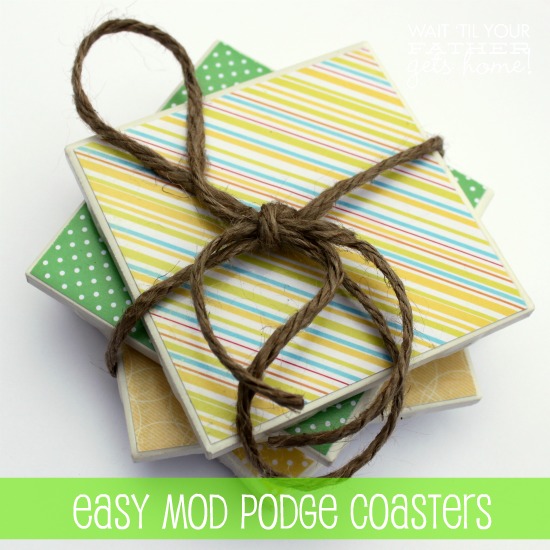
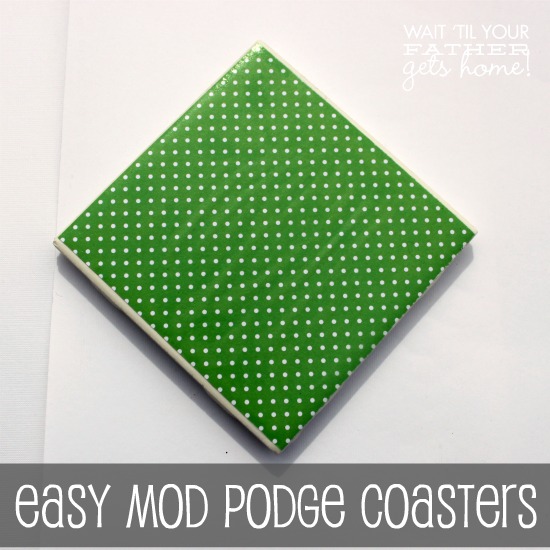
Easy Mod Podge Coasters
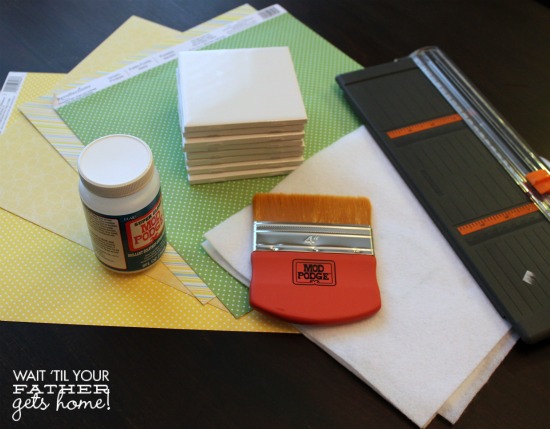
To make your own, you’ll need:
4 x 4 inch white glazed tiles {found at Home Depot for about $.14 a piece}
scrapbook paper in your desired colors/patterns
Mod Podge
Mod Podge brush
white felt
paper cutter
hot glue gun/glue sticks
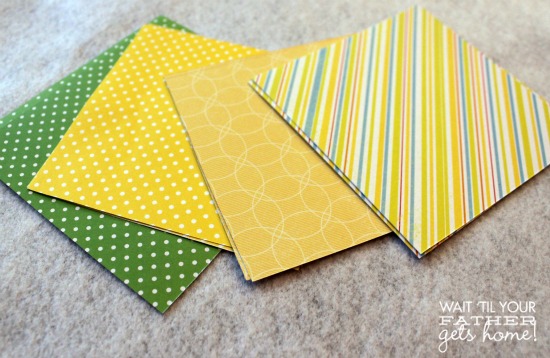
First, I cut out 4 x 4 inch squares from both my scrapbook papers and the white felt. I opted to use the paper cutter for the paper so that I had nice, straight lines. I simply cut the felt using my fabric scissors.
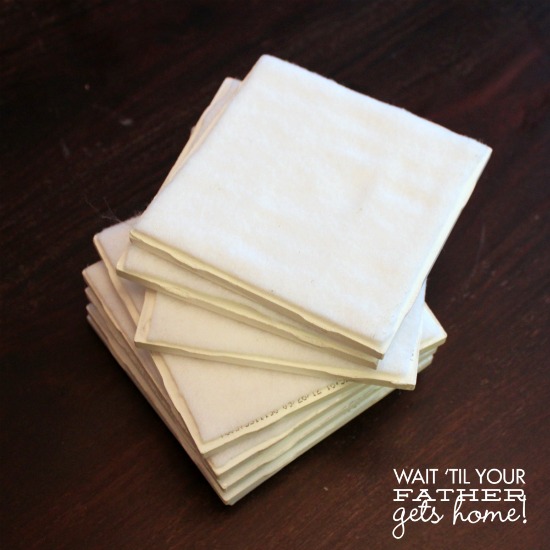
Once the felt was cut, I hot glued each piece onto the underside of each tile, thus creating a smooth surface that’s safe to rub against your tabletop.
To secure the scrapbook paper on top, I applied a thin layer of Mod Podge to the top of the tile, smoothed the paper down with a flat edge, and sealed the top of it with another coat of Mod Podge. After about half an hour they were dry!
If you wanted to give these as a gift this Spring, you could tie a set of four up with some twine and add them to a gift basket with some freshly bottled lemonade.
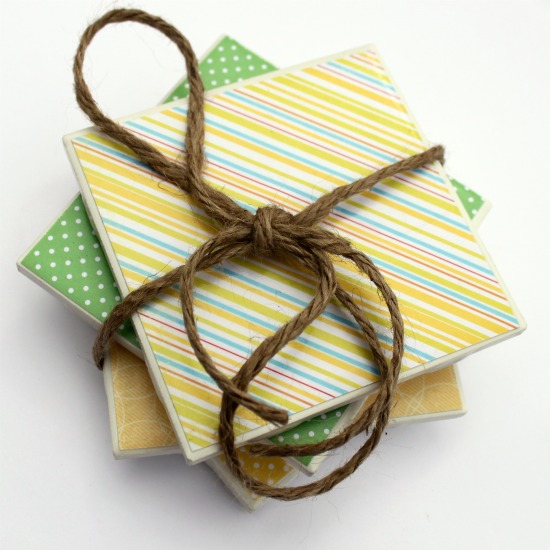
The green and white polka dotted one is my favorite!
What have you created lately?!

I’ll be linking up here!


These are so cute, Meredith. I love making coasters-especially using photos. Have a great day
Cute!
Super cute! I love the colors!!
Thanks Meegan! So glad you like them 🙂
Hi! Followed you over from Whimsey Wed link up. I love this idea and so affordable. I think I will give it a try. Thanks for sharing!
Jackie
Thanks for stopping by! 🙂
Easy- I love it- and perfect for gifts!
Such a cute idea! Great for gifts!
I love making these…..they make the greatest gifts!
Problem I’ve had with these is that it when you stack them together the felt pad on the bottom sticks to the coaster below it & leaves an imprint. Doesn’t matter how long they’ve dried. Anyone know what to do about this? I made a ton of them & now don’t know what to do with them! Help!!
Mine have been stacked for a three days now and I haven’t had that problem. I wonder why that’s happening for you?!
These don’t get old at all! I love them!
Thanks Chelsea!
Love this and would love to have you share this with my followers at What to do Weekends Party. Take care, Linda
http://www.craftsalamode.com/2013/02/what-to-do-weekends-7.html
How pretty! I had someone make me some of these for Christmas! I was so psyched to receive them. They make great housewarming gifts too!
These are so adorable.
Thanks! And thank you for stopping by tonight 🙂
Pinned it! Thanks for sharing this at Whimsy Wednesday!
These coasters are so darling. Thanks for sharing! I found you at the 36th Avenue. Your blog is delightful. Thanks for stopping by my place when you have a chance. ~ Blessings, Tracey
These are so cute!
I would like to invite you to link up at my party, Manic Monday. http://cupcake-n-bake.blogspot.com/2013/02/manic-monday-6.html
Hope to see you there!
These are super cute, but I would spray them with a clear sealant after they are dry. This helps make them water proof when you put a glass on them.
I haven’t had issues yet, but GREAT idea!!
Stopping by from TT&J, very cute! Thank you for sharing!
Thanks for stopping by! 🙂
I so want to try this. BTW – I have an iPad KIC Mount giveaway going on right now if you would like to come enter. http://eatcakefordinner.blogspot.com/2013/03/ipad-kic-mount-giveaway-and-review.html
You should, it’s super easy {and so fun}! 😉
Way to go Meredith! I LOVE making coasters too!
Thanks for sharing this at The DIY Dreamer last week. Can’t wait to see what you link up tomorrow evening! Have a great day!!
Thanks Christine! Have a great day 😉
These are so cute…and make such a great gift!! Love your header, by the way. 🙂
Thanks for your sweet comments 🙂 Have a fun day!!
I have made these and whenw e use them with hot drinks the cups will melt the Modge Podge causing the coaster to stick to the cup. I sprayed them with a clear coat that is made for a cars exhaust system so the heat would not mess them up but they are still melting through. How can I fix this? Or do you just use them for cold drinks?
Hmmm…I’ve only ever used them with cold drinks!