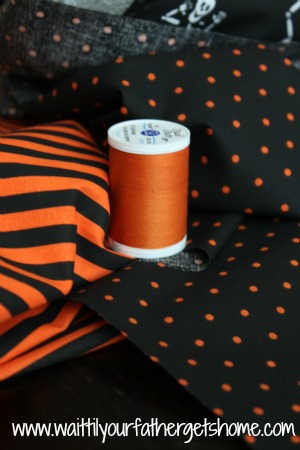
I’m a big fan of a cute table runner, but definitely not paying the price for one. While shopping a few weeks ago, I stumbled across some super cute Halloween-ish fabrics for 40% off at Jo Ann’s and knew they would be the perfect pieces for a cute table runner I had in mind.
To make a Halloween Table Runner, you’ll need:
three different Halloween fabrics (two for the front and one for the back) 1/2 yard of each
jumbo orange rick rack
orange thread
rotary cutter and cutting mat
iron
measuring tape
sewing machine
You’ll find that a lot of table runners hang over the ends of each side of the table. I’ve got a 15 month old, so that wasn’t an option for me. I had visions of everything on top of the table runner crashing down on his little stubborn, oh so cute head, so I knew I wanted to stick to a size that fit in the middle of the table instead.
To get started, I ironed all three of my fabrics very well, after all, it’s always easier to work with nice, flat fabrics when cutting and sewing!
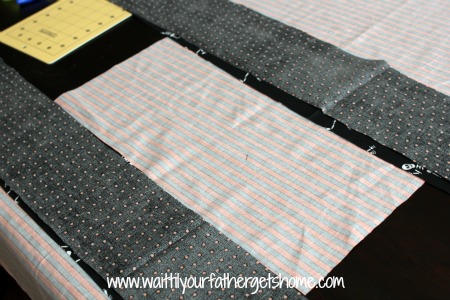
I then measured and cut the four strips for the top of the table runner. Each strip measured about 4 1/2 x 41 inches. I also measured and cut the fabric that would go on the back of the table runner to be about 16 x 41 inches.
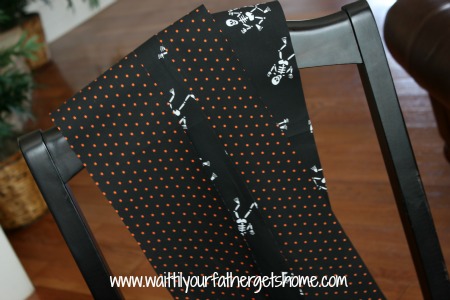
To assemble the top of the table runner, pin two different fabric strips together, right sides facing each other and sew straight down the longest side. Once sewn, repeat with the two remaining strips.
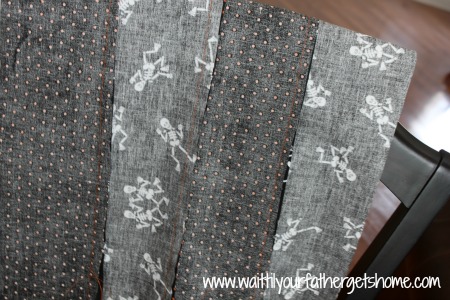
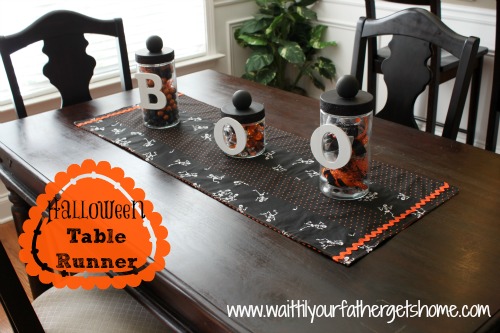
Finally, sew all four strips together, making sure that each fabric strip alternates. As you can see, mine alternates between a skeleton fabric and an orange and black polka dot. Iron this piece well, making sure that all folds are ironed in the same direction on the back side of the fabric.
Since I wanted to add some orange ric rac to the ends of the table runner, I pinned it in place and sewed it on before assembling the entire table runner. This step was super easy, I just used the ric rac as a measurement and cut it where it met the ends of the fabric. I sewed a straight line through the center of the ric rac and it stayed in place perfectly.
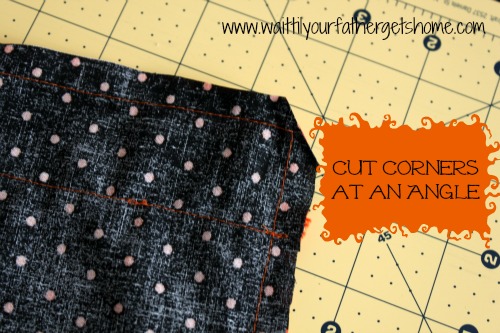
Now, to assemble the entire table runner, pin the fabric strip side to the solid piece that will serve as the back of the table runner, right sides together. Sew 1/4 inch seam around the entire table runner and leave a 4 inch opening to turn it right side out. Before turning, make sure to cut each corner at an angle so it doesn’t look all wonky!
Use a pencil or pen to poke the corners as far in as they’ll go, and run your iron over it one last time before closing that 4 inch hole and sewing a topstich around the entire table runner, using your presser foot as a guide.
Now, put your table runner on display with some of your favorite Halloween Decor or maybe even a big bowl of Halloween candy!
I’ll be linking up at these fantastic parties this week!





So cute! Please sew one for me! 🙂
I wish I could….broken sewing machine 🙁
This is adorable! Thank you for sharing! I love your BOO jars too!
Thanks, Melissa 🙂
Way cute! I love it!
Thanks!!
This is darling, I love table runners as well… but not paying for it! I really like the fabric you choose:)
Thanks Carlee! So glad you liked it!
That is super cute! Great fabric as well. Thank you for sharing. Visiting from Bear Rabbit Bear. Would love it if you would share this at my Make it Pretty Monday party at The Dedicated House. http://thededicatedhouse.blogspot.com/2012/10/make-it-pretty-monday-week-18.html Hope to see you at the bash! Toodles, Kathryn @TheDedicatedHouse
Love your Halloween runner! I’d like to invite you to share it at my party, Twirl & Take a Bow at http://www.houseontheway.com. Hope you can join in on the fun!
Leslie
Sure! I’ll link up today 🙂
This is absolutely adorable! I love the ric rac! Thanks for sharing at the Pomp Party!
I LOVE this idea!! It turned out great. I hope you will stop by and link this up to my Wickedly Creative Halloween Ideas Party if you haven’t already.
http://www.itsybitsypaperblog.com/2012/09/2012-wickedly-creative-halloween-ideas.html
Thanks! I’ll stop by now to link up 🙂
This is a great tutorial and I think I may have enough fabric to make it without running to the store! Pinned.
Awesome! Hope you have everything you need already 😉
Oh Mere! This is so adorable! I love the fabric that you used! So Halloween-y!
Im featuring this Wednesday on a Halloween roundup Wednesday 🙂
So lovely! You are invited to post your project at SHOW-licious Craft Showcase. Just follow the link then grab the button to participate each week! 🙂
http://sewliciousdecor.wordpress.com/2012/10/14/sunday-craft-showcase-3.
xoxo, Marti
Thank you! I’ll come take a look at your party now 🙂
That is so super cute! The fabric is adorable, but I especially like the rick rack. You’ve got skills, lady! Thanks for linking up to Throwback Thursday 🙂
Thanks!! 🙂